Adire t-shirts are taking over Nigeria’s pop culture—and for good reason. From casual weekend looks to artsy fashion statements, these bold, handmade shirts are the perfect blend of heritage and self-expression.
If you’ve ever seen those beautifully dyed Nigerian fabrics and wondered how they’re made, you’re in for a treat. Making an Adire tie and dye t-shirt is a simple and satisfying way to enjoy the magic of traditional Yoruba fabric art—no fancy studio needed!
Whether you’re crafting one for yourself or planning to produce in bulk, making Adire is fun, affordable, and rich in cultural value. This guide walks you through everything—from the materials you need to how to mix chemicals for tie and dye in Nigeria.
Let’s get started.
What’s the Difference Between Tie-Dye and Adire?

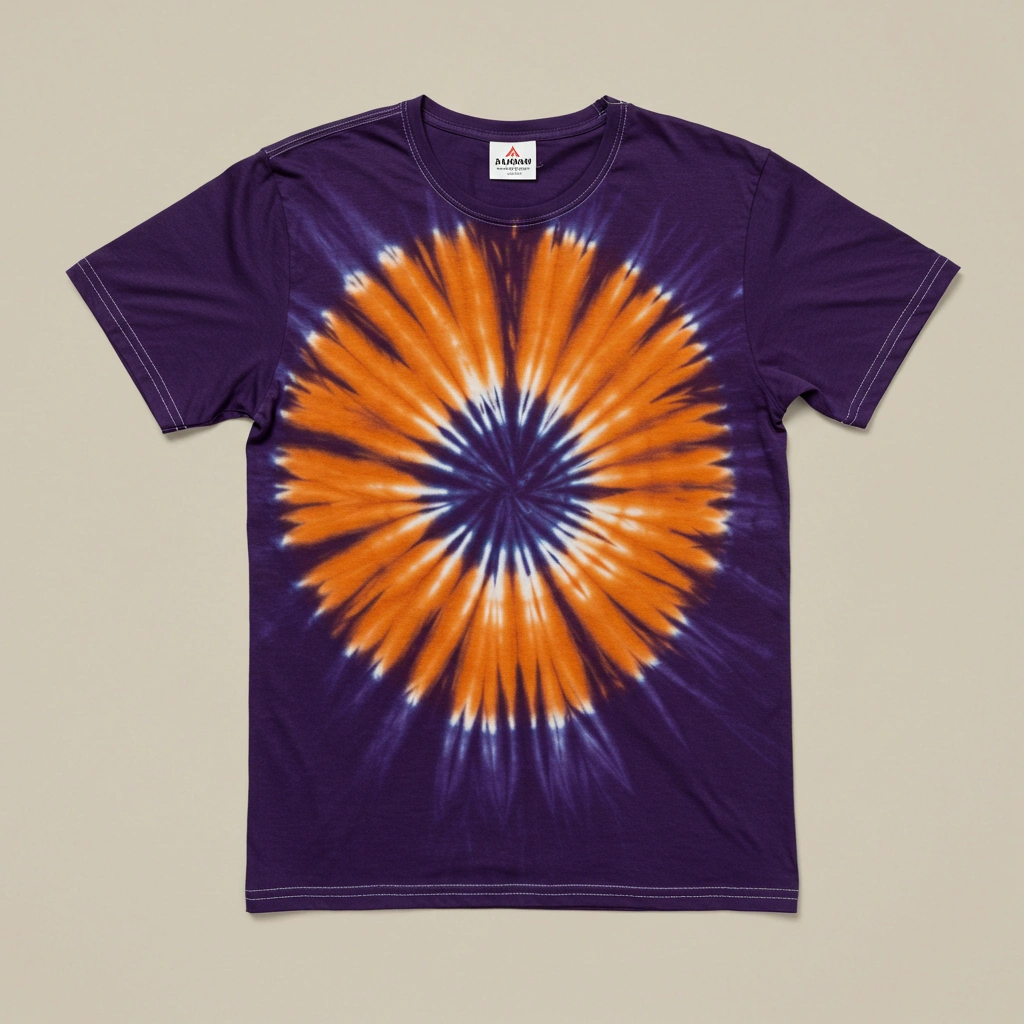
Tie-Dye is a resistance technique where threads or raffia strands are used to strategically tie your fabric to prevent those spots from being dyed, producing beautiful patterns.
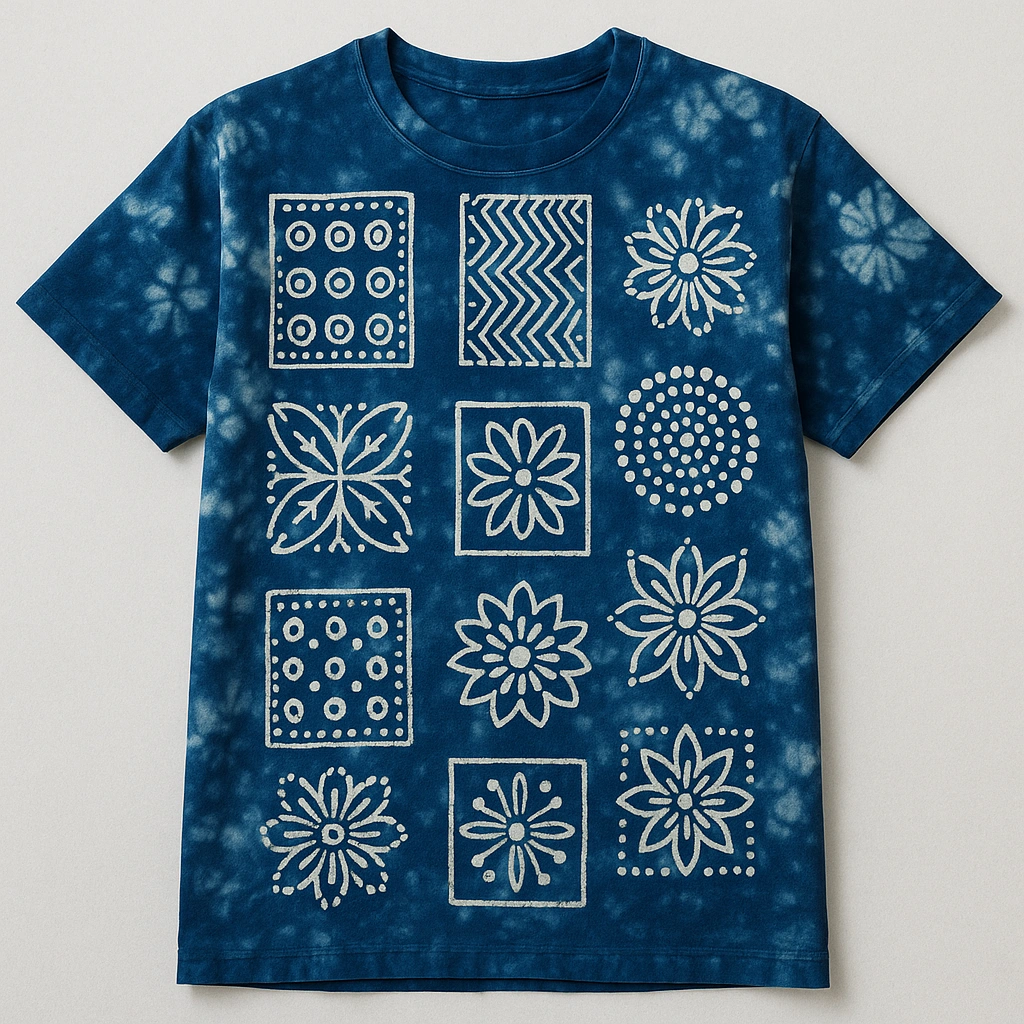
Adire, on the other hand, is a collective name for Yoruba traditional dye methods used to produce intricate repeat pattern designs for prints.
Adire will often use candle wax or bee’s wax as resistance for dye, and the best part about using wax is that you can create all sorts of intricate patterns. Stamps, djanting pens, and other tools can be used for this purpose.
Below, we’ve highlighted steps to make a very cool-looking, super low-effort Adire t-shirt you can wear this summer—whether you’re going to the beach or on a casual stroll through your neighborhood!
Step-by-Step: How to Make an Adire Tie and Dye T-Shirt

This DIY is beginner-friendly, and most of the materials can be found at your local market or art store. Let’s dive in.
Materials You’ll Need
Here’s your quick checklist. Most tie and dye materials in Nigeria are affordable and easy to find at local markets:
- 100% cotton white t-shirt (preferably pre-washed)
- Stamps (wooden or carved foam are great)
- Candle wax or bee’s wax
- Drip bottles
- Plastic measuring spoons
- Bowls
- Heating source (like a stove)
- Rubber gloves
Chemicals for tie and dye in Nigeria:
- Fabric dye (any color you like)
- Caustic soda
- Hydrosulfite (sodium hydrosulfite)
- Salt (optional)
1. Melt the Wax (for Pattern Making)
- Break up some candle wax or bee’s wax and place it in a metal container or old pot.
- Heat gently over a stove or hot plate on low to medium heat until fully melted.
- Do not let the wax boil—just melt it until liquid.
- Once melted, reduce the heat and keep the wax warm while you work.
Tip: Use a small brush or stamp to test your pattern on scrap fabric first.
2. Prepare Your Fabric
- Use a 100% cotton white t-shirt for best results.
- Wash the shirt beforehand to remove any factory chemicals or sizing. Let it dry fully.
- Lay it flat on a table or over cardboard to keep it steady while working.
3. Apply Wax Patterns
- Dip your wooden stamp or foam block into the melted wax.
- Press the stamp firmly and evenly onto the fabric to transfer the design.
- Repeat the stamping across the shirt in a pattern or free-style design.
- Let the wax cool and set for at least 1 hour before dyeing.
Want more control? Use a djanting pen or brush to draw your own patterns directly.
4. Mix the Dye Solution
You’ll need the following materials to make your dye bath:
- Fabric dye (powder form is common)
- Hydrosulfite (sodium hydrosulfite)
- Caustic soda
- Warm water
- Optional: Salt (helps fix the color)
Steps to mix the dye:
- In a small bowl, dissolve 2 tablespoons of dye powder in warm water. Stir till smooth.
- In another bowl, dissolve 1 tablespoon of caustic soda in warm water.
- In a third bowl, dissolve 2 tablespoons of hydrosulfite in warm water.
- Combine all three solutions into a bigger container and stir gently.
Wear gloves and work in a well-ventilated space when handling dye and chemicals.
5. Dye the Shirt
- You can leave the shirt flat or tie it in sections using raffia or thread for added tie-dye effect.
- Place the shirt in the dye bath and leave it to soak for 2–3 hours, depending on the color intensity you want.
- You can also apply dye selectively using a squeeze bottle for multicolor effects.
6. Rinse and Remove the Wax
- After dyeing, rinse the shirt with clean water until the water runs clear.
- To remove the wax:
- Sandwich the shirt between two old pieces of fabric or newspaper.
- Iron over it with a hot iron, melting the wax into the paper.
- Repeat with fresh paper until the wax is fully removed.
Alternatively, you can dip the shirt briefly in boiling water, which will melt the wax and make it float to the surface. Remove the shirt quickly and hang to dry.
7. Final Touches
- Once fully dry, iron the shirt (on low heat) to smooth out any wrinkles.
- And that’s it — your handmade Adire t-shirt is ready to wear!


Ready to Start?
Whether you’re a creative, a small business, or a fashion enthusiast, learning how to make Adire opens up an exciting world of design possibilities. But if you’d rather shop, customize, or request bulk Adire pieces, we’re here to help.
Browse our Adire T-shirt designs here
Or Contact us on WhatsApp for custom and wholesale orders.


Add comment
You must be logged in to post a comment.